Playing with Paint.net

Multimedia, digital images, photography, video, audio, related software, Photo[C]hopping, desktop screenshots, wallpapers, personal photos, digital cameras, pictures you'd like to share, digital video, avi, mpeg encoding, audio, mp3s, FLAC, codecs, etc.
Post Reply
User avatar
YARDofSTUF
Posts: 70006
Joined: Sat Nov 11, 2000 12:00 am
Location: USA

Playing with Paint.net

Post by YARDofSTUF »

I'm not the greatest with paint programs but since I seem to have got a couple people at least interested in the program I figured I'd show off some of its features, to the best of my ability.

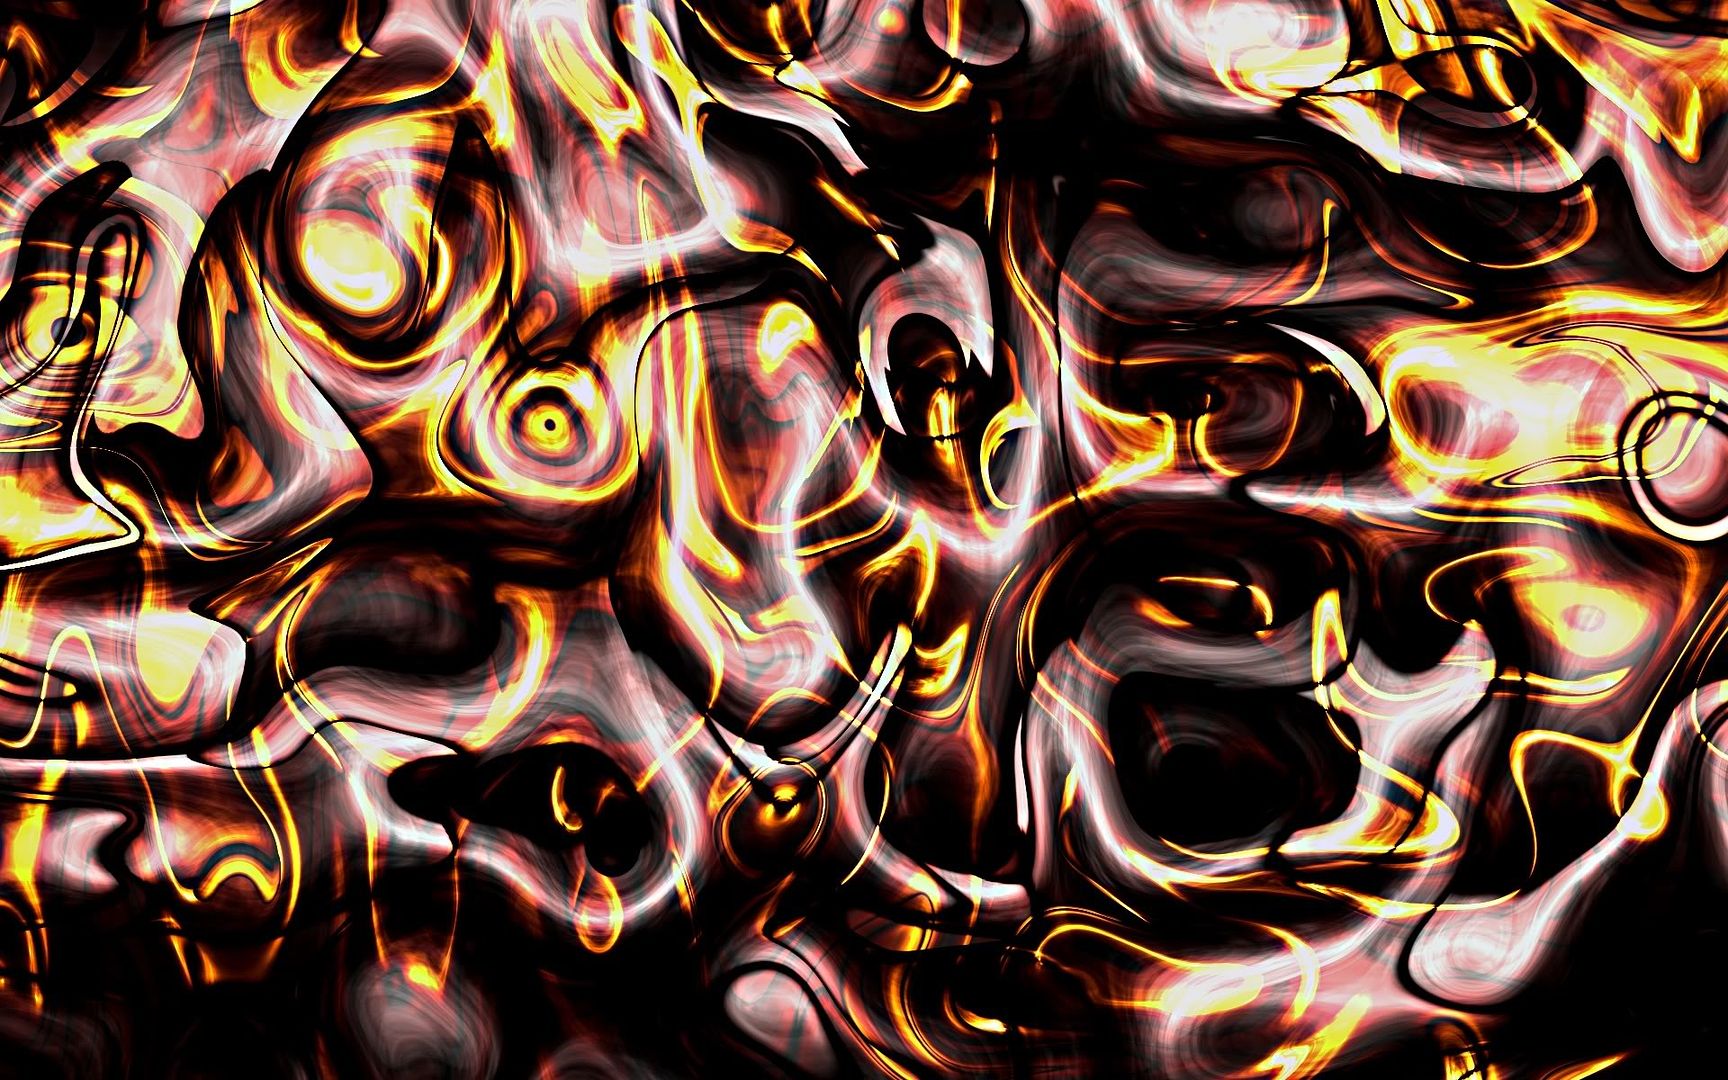
First I'll start with the "Fire!" plugin effect.

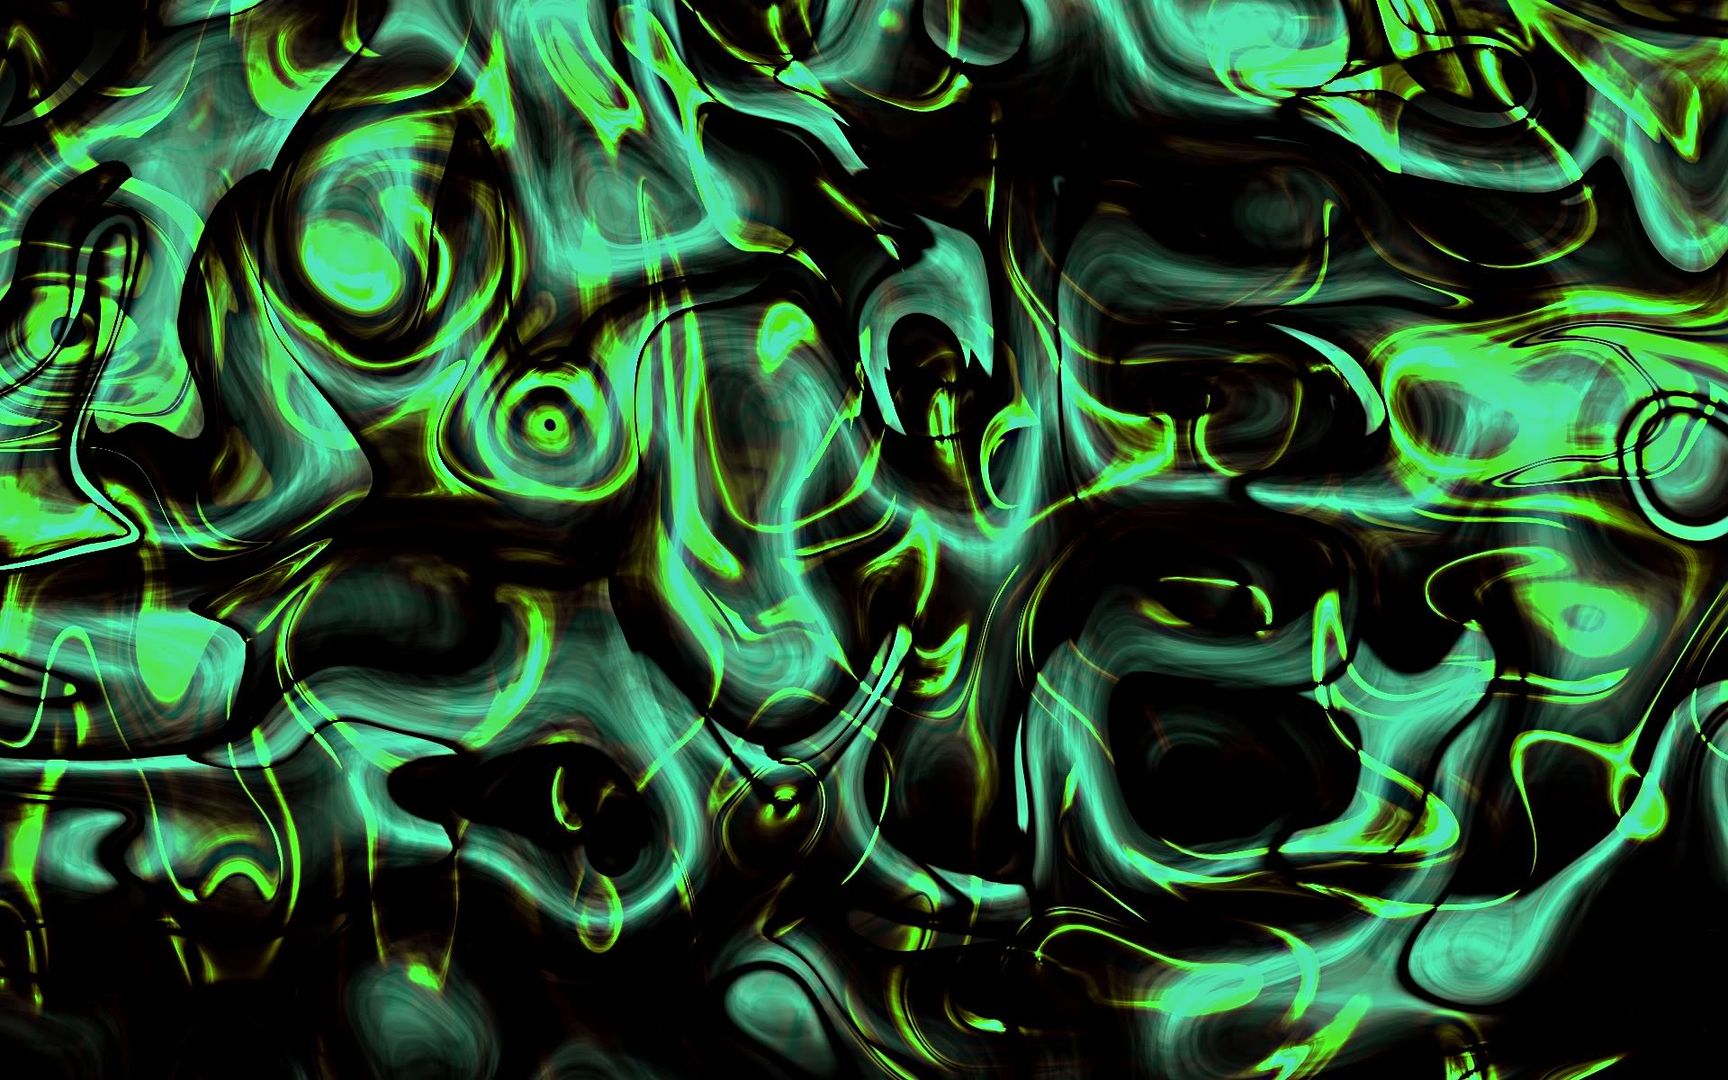
Using an annoying green like this:

Image

The fire plugin can render fire a bunch of different ways with its settings.

High Wisp, low roughness, default scale:

Image


Default wisp and roughness, slightly higher scale:

Image


Default scale and roughness, high wisp:

Image


Then you can also flip the colors:

Image


And if thats too dark, duplicate the layer, and in layer properties for the top layer, select "screen" to get this:

Image


You can then add other effects, such as "Dents" to get something like this:

Image


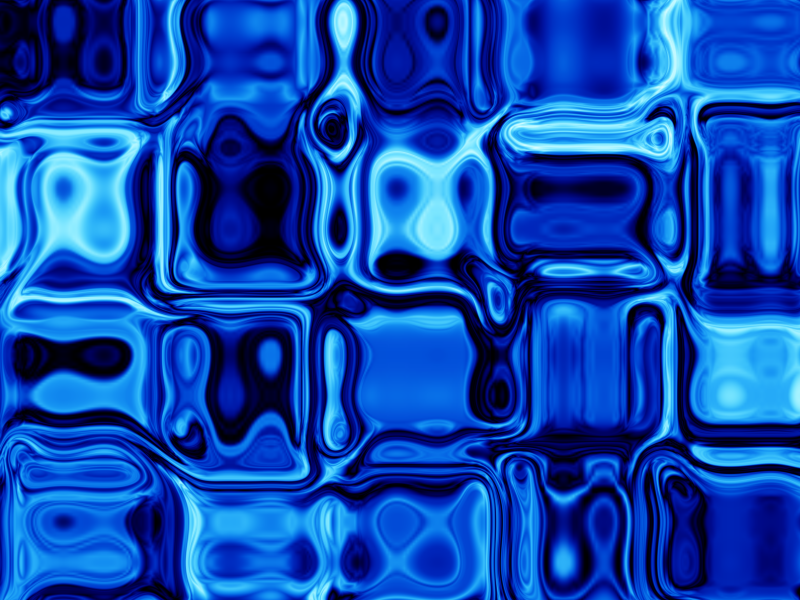
Dents and Fire! are probably my 2 favorite effects. To make a logo for a gaming group I was in, I created the fire background I wanted, made it blue by using the color flip effect, and then added a layer of text above it.

I then duplicated the text layer and outlined the text in white using the "Outline Object" effect.

Then I went back to the plain text layer selected the transparent areas, switched to the text with white outline, inverted my selection and deleted the text, leaving just the white outline.

Used the outline object effect again to smooth out the outline, duplicated the layer to make the white nice and solid and merged the 2 white outline layers together.

Finally to add a bit more I duplicated the white outline layer again and used the "Zoom Blur" effect, maxed the zoom amount out and then reapplied it to double teh effect.

The end result:

Image

Sorry for not having images of the process, didn't plan to share the step by step creation.
User avatar
Humboldt
Posts: 28212
Joined: Wed Oct 04, 2000 12:00 am
Location: Northern CA

Post by Humboldt »

Very cool, thanks for the time.
CableDude
SG VIP
Posts: 26801
Joined: Sat Jun 02, 2001 12:00 pm

Post by CableDude »

:thumb: Sweet.
User avatar
YARDofSTUF
Posts: 70006
Joined: Sat Nov 11, 2000 12:00 am
Location: USA

Post by YARDofSTUF »

Another cool effect is "Glass Blocks".

Using the last image after the dents effect and setting the scale on glass blocks to max you get this:

Image


Then you can repeat it as much as you like to get more of a block look:

Image


Image


EDIT: Other things I've done with these effects:

http://i34.photobucket.com/albums/d104/ ... eGlass.jpg


http://i34.photobucket.com/albums/d104/ ... aGlass.jpg


http://i34.photobucket.com/albums/d104/ ... ersion.jpg


http://i34.photobucket.com/albums/d104/ ... Forest.jpg


http://i34.photobucket.com/albums/d104/ ... orest2.jpg


http://i34.photobucket.com/albums/d104/ ... rushed.jpg


http://i34.photobucket.com/albums/d104/ ... owflow.jpg
CableDude
SG VIP
Posts: 26801
Joined: Sat Jun 02, 2001 12:00 pm

Post by CableDude »

Win :thumb:
User avatar
YARDofSTUF
Posts: 70006
Joined: Sat Nov 11, 2000 12:00 am
Location: USA

Post by YARDofSTUF »

Original:

Image


After "Noise Reduction" effect(default settings):

Image


After "Cross Processing" effect(default settings):

Image


Adding a duplicate layer with 20 pixel white border and then the "Olden" effect(default settings):

Image


Adding the same border to the original layer and changing the second layer to an opacity of 63, and set the layer blend mode to Color Dodge:

Image


So you end up with the image looking like its from the early 80s kinda.
User avatar
YARDofSTUF
Posts: 70006
Joined: Sat Nov 11, 2000 12:00 am
Location: USA

Post by YARDofSTUF »

"Buttons" is another effect I find handy. Lets you make a simple but flashy looking button, at a variety of sizes.

Image


Image


Image


Image


I never add the text there, always do that later and on another layer so I can adjust it more, either its font, opacity or add effects to it.


EDIT: And you can add an image, then duplicate the button layer and bring it to the top, and lower the opacity to give it a bit of a glossy look over the image you added on it.(This one below ends up a little faded though.)


Image
Post Reply